A beautiful, unique interior is something we all dream about, and surely many people have thought at some point – why don’t I paint something awesome on my walls with my own hands? The problem is, you immediately realize that you don’t know how – you’ve never done it before and perhaps you feel too left-handed to tackle something like that by yourself. But then, professional artists and designers are so expensive that ultimately you give up on that dream and slap on some wallpaper because it’s much easier. But what if you decide to fulfil this dream after all?
A wall is not a sketchbook – you don’t draw a random doodle that you just thought of on a wall. Choosing the right wall art image is almost as difficult as creating it – it has to match the style of the room, be in line with the room’s purpose and carry a certain emotion. There can be other purposes to it too, like making the room seem taller or hiding crooked walls. Most often, wall art is seen in children’s rooms because it brings them the most joy, especially when it’s their favourite cartoon characters on cute animals decorating their walls.
But don’t despair, you can still decorate your wall with your own artwork, even if you aren’t exactly a professional artist!

Step 1. Choose your picture and determine how big it’s going to be. In this guide we assume that you are at the point when you already know where exactly your picture is going to be and why. The internet is overflowing with billions of pictures, but we suggest starting with something on the simple side – don’t attempt to paint a giant flaming dragon just yet.
Step 2. Prepare your wall – experts work on smooth, clean, well-painted surfaces, so take care to smooth out your wall and choose a colour that will work as a background for your wall art.
What kind of paint can you use?
Step 3. Get your supplies: paints, brushes, etc. Get two types of brushes: large flat brushes for big, wide strokes (you can go for natural or synthetic) and small, round brushes for details. Make sure to get some cups and containers to clean your brushes and mix colours – get the single-use kind if you don’t want to sacrifice your dishes. As for the paints, all experts agree that you should only use matte, water-based acrylics – they are easy to mix and apply and they won’t smudge once dry. Mix white acrylic paint into your colours to achieve the desired shade. To achieve the desired level of liquidity (a consistency resembling sour cream with 15% fat content is ideal), simply add water, but be careful and don’t get too carried away – you could end up with ugly spots on your wall when the paint dries. Some artists like to cover the entire finished painting with an extra layer or two of matte acrylic wall coating just to be sure.

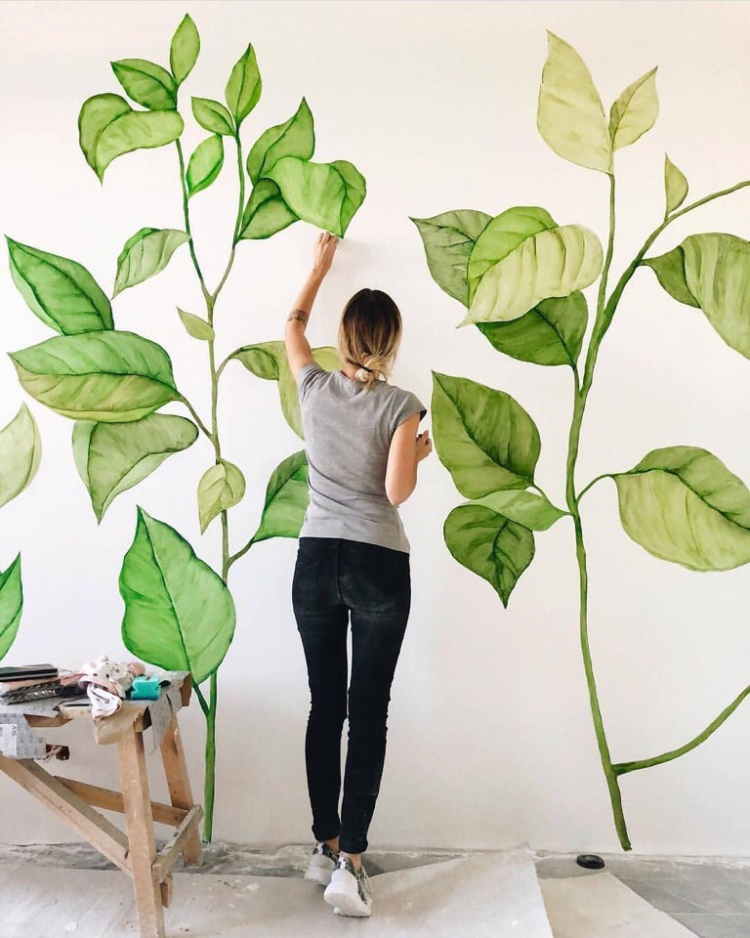
Step 4. Print out 5–10 copies of your template in black and white to create something like a sketch. Choose the background colour carefully – the same colour can look very different on a white or green background, so take care to choose colours that work well together. If your chosen painting contains lots of repeating elements (like leaves), it’s a good idea to make simple stencils before you begin.
Step 5. Now use a pencil to lay down a basic sketch on the wall. Avoid black pencils – they are very hard to erase and tend to leave ugly smudges. A soft coloured pencil is a much better option here since you can correct mistakes simply, with a large soft eraser. The better your sketch, the easier the painting stage will be. People who struggle with spatial orientation can use a grid – draw it on your printed template and on the wall. It will divide the image in smaller pieces, making it easier for you to transfer it from paper to the wall.
Step 6. Grab your acrylics and start painting! Always mix your colours right before you use them since acrylics dry very quickly. Don’t forget to repeat strokes to give your painting a more natural, three-dimensional look; just make sure to let the previous layer dry before going over the same spot again. Hold your brushes perpendicular to the wall. Use small brushes to correct any mistakes and move from the large brushes at the start to small brushes towards the end, adding the smallest details last – this way you can easily create volume, reflecting sun, and other natural effects in your wall art.


That’s everything you need to know to paint your own wall – good luck! And for those who would like to learn more about interiors, we invite you to register for our amazing interior design course where you will learn how to work with a floor plan, how to combine colours or even how to use a computer to create your interior in 3D!


