Go to

#process

How to draw a dog

16. February 2022
kak_narisovat_staffordshirskogo_terera_karandashom-15

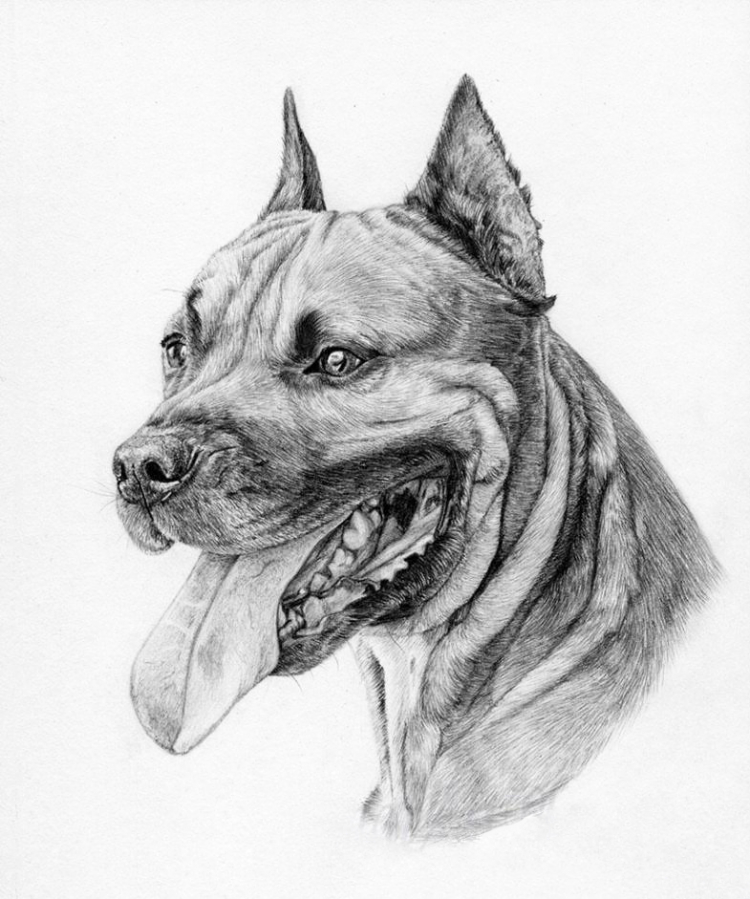
A simple pencil is more than enough to create a realistic drawing – you just need to know how.

Step 1
Make a sketch using a 2H pencil, trying to outline and mark the places where the tones will shift. When you are satisfied with the sketch, lightly go over the entire thing with an eraser to soften the lines.

Step 2
Begin hatching, starting with the eyes. Why eyes? First, the picture will already start to look alive, and second, eyes are the darkest part and can be used as reference for further shading and hatching.

Step 3
Use a 2T pencil to outline the hair growth direction around the eyes and on the forehead.

Step 4
Begin adding hair, starting from the darkest area – the eyebrow arc. Use short strokes to mimic short dog hair.

Step 5
Continue working in the same way to add hair around the other eye.

Step 6
Move on to an ear. Its darker shade helps separate it from the forehead clearly. Keep using short strokes and add small, sticking out hairs to avoid a hard transition between the dog and the background. When working the wrinkles in the dog’s skin, keep in mind that making them three dimensional is the key here. Do this by making the edges dark and adding light and shadow to the wrinkles.

Step 7
Start working on the second ear, again making your way from the darkest areas to the lighter ones. Don’t forget about the hair at the back edge of the ear.

Step 8
Now work the inside of the ear. Start by filling the entire ear with an even shade using a 2H pencil and try to keep the strokes the same colour (but don’t smudge the pencil work!). Next, take an HB pencil and start adding darker areas and more detail and definition, trying to keep strokes from becoming too obvious. Use a 2B and 5B pencil to darken the forehead as well.

Step 9
Move on to the nose and start by filling out the darkest areas but keeping them barely visible before moving on to a softer pencil and making the shadows more pronounced using a circular motion. Focus on the nostrils and use the softest pencil, 5M, to work on them. When you’re done with the nose, use very short strokes to draw the hairs above the muzzle, paying attention to the hair growth direction.

Step 10
Work on the muzzle, starting with even, midtone hatching before deepening the shadows of the darkest areas.

Step 11
Now move to the tongue, working the way you worked the ear – start with even hatching, making sure that individual strokes are not too obvious, then deepen the shadows and finally, use the edge of your eraser to create light reflections.

Step 12
Continue using the same method and move on to the jaw, paying attention to the many details in the dog’s mouth. Start with the darkest areas and work your way to lighter areas.

Step 13
Hatch the lower jaw.

Step 14
Draw the wrinkles (skin folds) on the neck and make sure to properly capture their volume. You will need to pay extra attention to the hair growth direction  (the hair is in the fold too, but the direction can vary with every fold). Start your strokes in the darker area and move to the lighter area.

Step 15
Finish working on the neck. That’s it, your drawing is now finished!

Are you a fan of drawing? Are you curious to see what other media can be used to create monochromatic pictures? Come join our drawing course and learn all about perspective, still life, figure drawing, and much more!

 

Painting sky with watercolours

13. February 2022

3-7-670×605

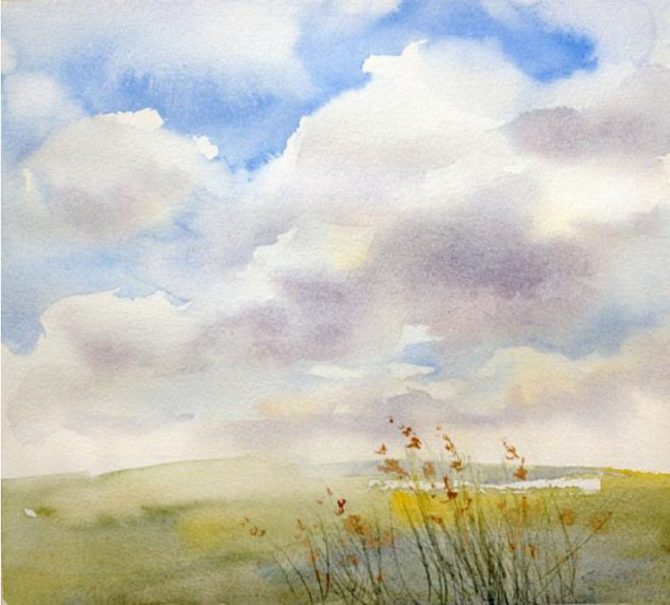
Sky is a funny thing – it’s ever changing, taking on countless shapes and colours, and playing different roles in paintings too – it can be your magnificent lead, or a humble extra.

Today we are here to teach you how to paint a beautiful sky and clouds using watercolours with a simple, step by step guide.

But first, we have some useful tips to share:

  1. Use multiple colours in your sky. Don’t limit yourself to blues – use reds and yellows as well to help balance the warm and cool tones.
  2. When using the “wet on wet” technique to paint clouds, keep in mind that the colours will lighten as they dry.
  3. Keep in mind that the closer you go to the horizon, the warmer and lighter the sky appears to be.
  4. Don’t forget about perspective when painting clouds and other three-dimensional objects and add highlights and shadows to match the direction the light is coming from. 
  5. The clouds will look more realistic if you combine sharp and soft contours. 

Now let’s get to work!

Step 1

Wet the paper and wait for it to absorb some of the water. A wet but not glossy surface is ideal.

Now use some yellow (diluted with water) to make a few large brush strokes outlining the position of the clouds. Drawing them with a pencil would have been probably easier, but the empty canvas leaves a lot of space for improvisation. If you do decide to outline them in pencil, try to keep the lines as light as possible.

You can also use watercolour pencils to outline the clouds – this way, any lines you draw will disappear as soon as you cover them with paint.

Step 2

Grab some cobalt blue and start filling in the space above the clouds. Use the flat edge of the brush to keep the strokes light and natural. 

Pay attention to your paper – if it’s too dry, the result will look too hard and sharp. Don’t worry, however – you can always use a wet brush to soften things and blur any sharp transitions.

Step 3

Continue painting the blue sky, moving under the clouds and using more diluted paint to represent the shapes of clouds far away on the horizon.

Step 4.
Now, while the paper is still wet where the clouds are, you can add some shadows with a few light strokes, mixing cobalt blue and cadmium red together to achieve a darker, purplish shade.

Step 5.

Keep adding shadows and softening the outlines using the flat side of the brush. Use swift, broad strokes to cover the remaining sky areas with a mix of cobalt blue and Naples yellow.

Step 6.
Once the sky is finished, add some details to the foreground to make the painting look finished and complete.

That’s it – just look at that pretty landscape painting you just made! If you enjoyed the process and want to learn more about drawing and painting landscapes and nature, we invite you to join our landscape painting course and see what you can do with coloured pencils, pastels, watercolours, and oil paints!

How to draw a rose

9. February 2022

как-нарисовать-розу-27

Roses are one of the most popular flowers out there, often considered to symbolise love. Composed of many layered petals, they are notoriously hard to draw since you have to work in layers too before you can move on to shading.

You will need:

  • A hard pencil (like HB)
  • A medium pencil (2B or slightly softer)
  • A soft pencil (5B or softer)
  • A sheet of paper
  • A pencil sharpener

Step 1
Use a hard pencil to draw a drop or egg-shaped outline – this is the inside of the rose, the bud.

Step 2
Draw the “opening” part.

Step 3
Add petals inside.

Step 4
Think of a heart shape when drawing these petals; they will also work as the edge of the other petals.

Step 5
Connect the “heart” to the rest of the bud to create a petal shape.

Step 6
Draw another heart, this time connecting it to the lower part of the bud.

Step 7
Draw another heart, making it more open and less smooth this time.

Step 8
Now it’s time to add more petals. Think carefully before adding each of them – too many will only cause you to get lost in the picture.

Step 9
Now it’s time to plant the bud into a “bowl” of petals. Start by adding small petals and continue working, adding more and more of them.

Step 10
As you add petals, make sure to make them point more and more downwards, as if they were almost laying down.

Step 11
Once you are satisfied, put a bit more pressure on the pencil in the areas that you want to accentuate with shading to mark them

Step 12
Now grab a softer pencil and darken the inner parts of the rose. Start with light strokes first…

…then add more pressure to create deeper shadows.


Step 13
Use the same pencil to place dark accents at the tips of the petals, but don’t go over their entire outline!

Step 14
Now use the hard pencil again and use it to add light structure to the parts that are “lit”. The more shaded the fragment is, the crisper your lines should be.

Step 15
Finally, use the softest pencil to add final strokes to the dark parts, especially in the darkest folds.

All done – you know how to draw a rose now!

Would you like to learn to draw other things too? Sign up for our beginners’ drawing course at https://www.drawplanet.cz/kurz/kurz-kresby/ and learn to work with pencils, charcoal, pastels, ink, and other exciting media!

Kak-narisovat-kota-karandashom-pojetapno-1

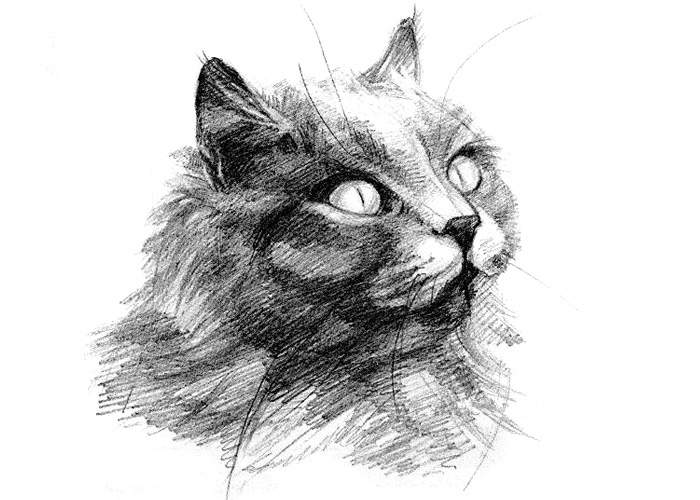
Did you know you can draw a cat in five steps? Follow us and see for yourself! First, you need to determine where the cat’s head is going to be on your paper. Then, draw a big oval with a smaller oval inside and two lines for the cat’s neck. Next, add two parallel lines right above the smaller oval – the cat’s eyes will go between them.

Step two – draw two more ovals for the cat’s eyes, add the ears and try to shape the face to be more catlike. You can see a cat’s face coming together already in the picture below.

Step three – the nose. At this stage, it can be a simple triangle. Our main goal right now is to make sure everything looks even and level, with no elements being askew or looking “weird”.

Step four – adding more details and definition to the cat’s eyes, ears, nose, and mouth. Don’t rush and take it one thing at a time – work on the ears first, then move on to the eyes and finally, to the nose. Use the picture below as a reference and try to mimic what you see.

Finally, in comes hatching and shading! Make sure you have pencils ranging from 2B to 6B at the ready, look at the reference picture below and try to copy the light and dark areas. Look closely and pay attention. Use the 6B pencil for the darkest areas and the 2B pencil for the lightest. That means you will use the 6B around the eyes, mouth, and ears, and the 2B for the eyes themselves. Don’t be nervous about making a mistake – you can always fix it with your eraser.

That’s it, you just drew a cat! Want to learn more? Then our drawing course is just the thing for you! https://www.drawplanet.cz/kurz/kurz-kresby/ Join us at Draw Planet to learn to draw things, animals, people, and much more step by step. Simply click the link, register, and start learning! 😊

How to draw a horse

1. February 2022

kak_narisovat_loshad

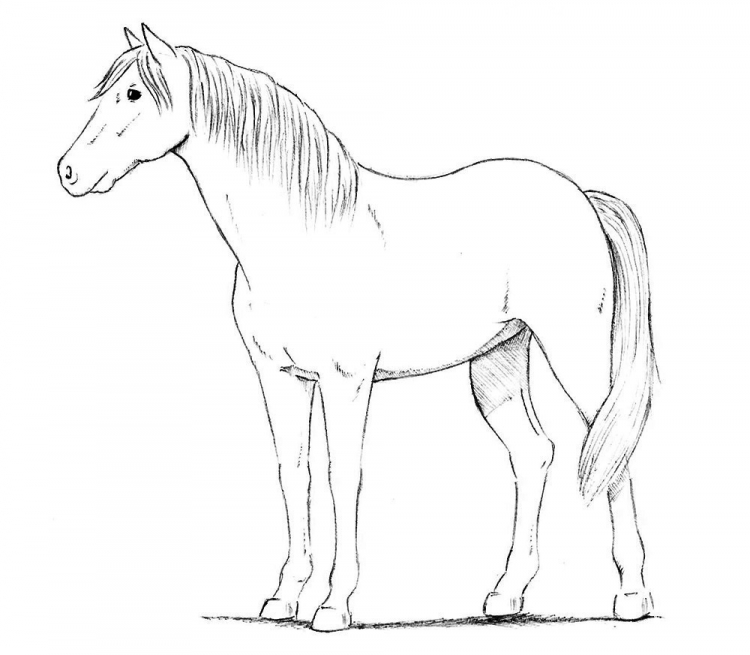
Can you draw a horse by following a certain set of steps? We’re about to find out!

Step 1

Draw a small circle and make sure to place it in the upper left part of your canvas. This will be our horse’s head, although it doesn’t look like much now.

Step 2

Add a flowerpot-shaped object to the lower left part of the “head”. Try placing it just like we did in our step-by-step drawing.

Step 3

Now let’s give our horse a neck. Draw a rounded shape and attach it to the upper and lower part of the circle. Pay attention to how smooth the shape is and how it widens as it goes down.

Step 4

Now we’re getting to the fun part, the body. Draw two circles and place them in the same horizontal plane. Make the first circle bigger and the second one smaller. Pay attention to where their centre is – it’s not on the same plane! The smaller circle attaches to the bigger circle, but their imaginary centres don’t line up.

Step 5

Now we’ll add the leg shapes. Front legs are like long cylinders that narrow slightly as they go down before widening slightly again right at the bottom, at the hooves. The hind legs have an extra bend where the thigh and the shin meet. The bend is much more pronounced in the hind leg in the background, farthest from us.

Step 6

Wow look at us go!

In this step, we’ll add an eye contour (place the eye very close to the line inside the circle, the one that represents the top of the “flowerpot”) and ear contours as well (by attaching two triangles at the top of the head). Finally, we’ll add the nostrils and the mouth.

Step 7

Now erase the extra lines from the previous steps to “clean” the drawing.

Step 8

It would be a pretty strange horse without a tail and mane, wouldn’t it? On the forehead, the mane looks like a fringe, while on the back it resembles long hair. The key rule here is to always draw the hairs in the mane or tail in the same direction as they grow, from roots to ends.

Step 9

Now let’s add some light shading. Don’t forget about a big shadow on the inside of the back hind leg. We also need to add a shadow on the ground below the horse to prevent it from looking like it’s levitating.

Join our drawing course for beginners to learn to draw things step by step, from the very basics. Sign up and master shading, hatching, and much more!


IMG_7051

Our newsletter!