How to draw a dog
16. February 2022
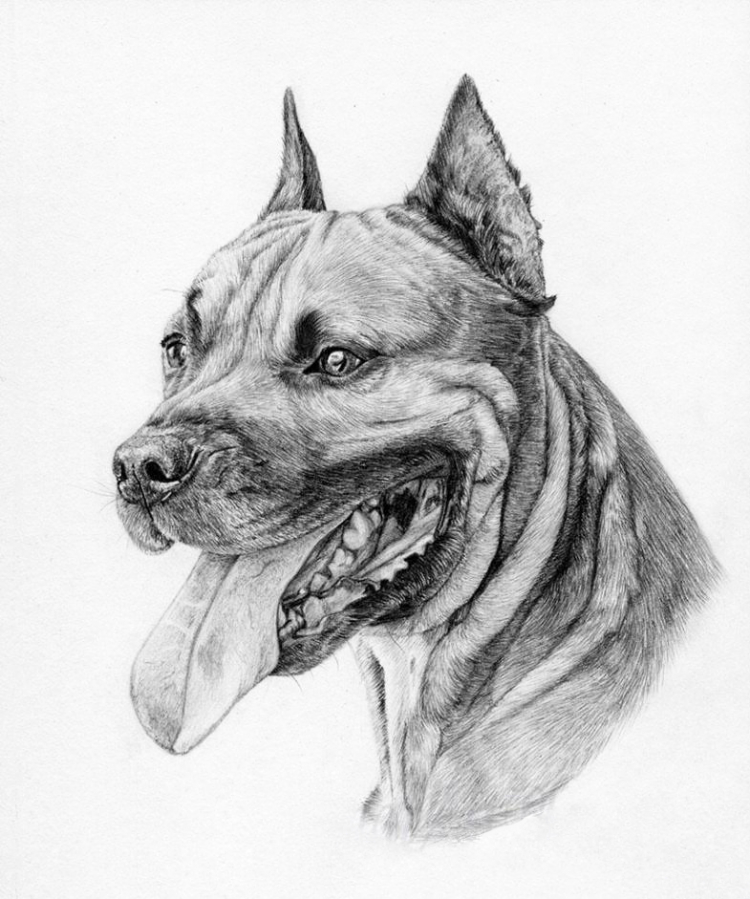
A simple pencil is more than enough to create a realistic drawing – you just need to know how.
Step 1
Make a sketch using a 2H pencil, trying to outline and mark the places where the tones will shift. When you are satisfied with the sketch, lightly go over the entire thing with an eraser to soften the lines.

Step 2
Begin hatching, starting with the eyes. Why eyes? First, the picture will already start to look alive, and second, eyes are the darkest part and can be used as reference for further shading and hatching.

Step 3
Use a 2T pencil to outline the hair growth direction around the eyes and on the forehead.

Step 4
Begin adding hair, starting from the darkest area – the eyebrow arc. Use short strokes to mimic short dog hair.

Step 5
Continue working in the same way to add hair around the other eye.

Step 6
Move on to an ear. Its darker shade helps separate it from the forehead clearly. Keep using short strokes and add small, sticking out hairs to avoid a hard transition between the dog and the background. When working the wrinkles in the dog’s skin, keep in mind that making them three dimensional is the key here. Do this by making the edges dark and adding light and shadow to the wrinkles.

Step 7
Start working on the second ear, again making your way from the darkest areas to the lighter ones. Don’t forget about the hair at the back edge of the ear.

Step 8
Now work the inside of the ear. Start by filling the entire ear with an even shade using a 2H pencil and try to keep the strokes the same colour (but don’t smudge the pencil work!). Next, take an HB pencil and start adding darker areas and more detail and definition, trying to keep strokes from becoming too obvious. Use a 2B and 5B pencil to darken the forehead as well.

Step 9
Move on to the nose and start by filling out the darkest areas but keeping them barely visible before moving on to a softer pencil and making the shadows more pronounced using a circular motion. Focus on the nostrils and use the softest pencil, 5M, to work on them. When you’re done with the nose, use very short strokes to draw the hairs above the muzzle, paying attention to the hair growth direction.

Step 10
Work on the muzzle, starting with even, midtone hatching before deepening the shadows of the darkest areas.

Step 11
Now move to the tongue, working the way you worked the ear – start with even hatching, making sure that individual strokes are not too obvious, then deepen the shadows and finally, use the edge of your eraser to create light reflections.

Step 12
Continue using the same method and move on to the jaw, paying attention to the many details in the dog’s mouth. Start with the darkest areas and work your way to lighter areas.

Step 13
Hatch the lower jaw.

Step 14
Draw the wrinkles (skin folds) on the neck and make sure to properly capture their volume. You will need to pay extra attention to the hair growth direction (the hair is in the fold too, but the direction can vary with every fold). Start your strokes in the darker area and move to the lighter area.

Step 15
Finish working on the neck. That’s it, your drawing is now finished!

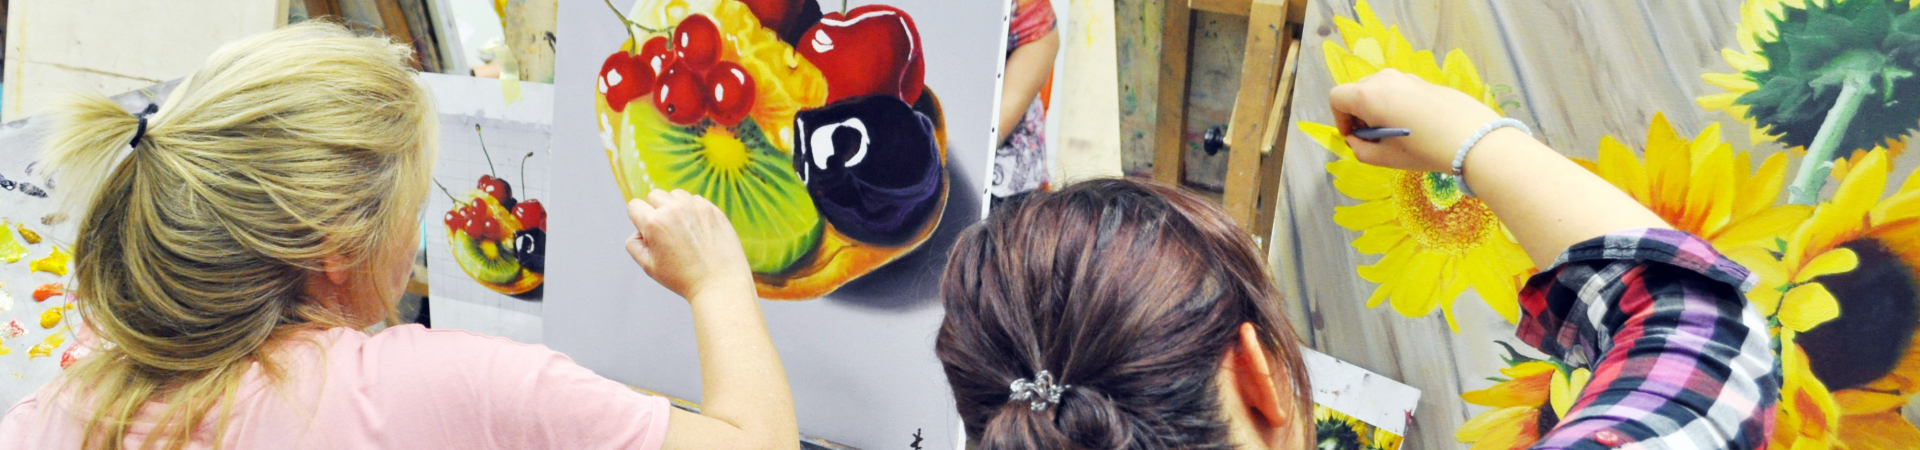
Are you a fan of drawing? Are you curious to see what other media can be used to create monochromatic pictures? Come join our drawing course and learn all about perspective, still life, figure drawing, and much more!