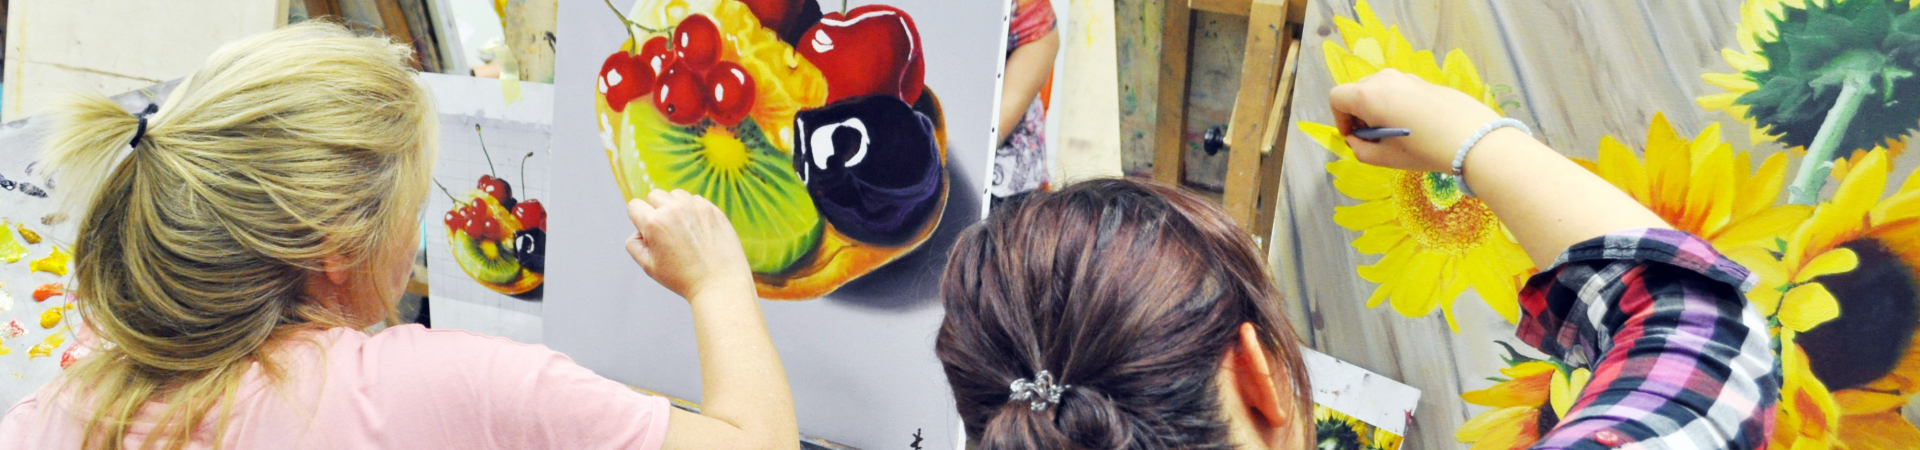
How to copy a reference image
19. February 2022
There are several methods you can use to copy a reference image. In this article, we’ll focus on the grid method – a method that allows you to copy the reference exactly as it is or on a different scale. Although the grid method is slower than using a projector or tracing paper and can become extremely time consuming, depending on the image size and level of detail, its main perk is the fact that it will help you greatly improve your drawing and observation skills.
Simply put, this method involves drawing a grid on your reference picture and then drawing the grid on your working surface (paper, canvas, wall…), keeping the same grid ratio. Then you start copying your image square by square, until you have copied the entire thing. Once you are done copying, simply erase or paint over the grid and continue working on your perfectly scaled drawing or painting.
The most important thing is to always keep the 1:1 ratio for both grids – if you don’t, the proportions of the copied picture won’t match the reference. The 1:1 ratio means that you need to have the same number of rows and columns on both grids, resulting in perfect squares. Still not clear on how that works? Let’s take a look at the grid method using a practical example.

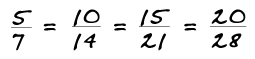
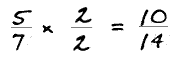
Let’s say our reference grid is 5×7 squares. If you want your picture to be the same size, then drawing your grid is easy. But if you want to make your drawing bigger, you can use a 10×14, 15×21 or 20×28 grid. Where did these numbers come from? They are the same ratio as the 5×7 reference grid.
See? No complicated math required.
This is also why you need to consider what paper, canvas, or board sizes are available in standard art supply shops. You can use any size you want if you make your own canvases, but if you buy ready-made ones like most people, then you will have to work with whatever sizes are available to purchase.
Back to the grid method now. Let’s say you want to use a 10×14 size for your work.
Every square is 2.5 cm2. To draw your grid, place a ruler on the upper edge of the picture and make a small mark every 2.5 cm. Do the same on the bottom, left, and right edges, then connect the marks to make a grid. Use the same method to draw the grid on your paper, canvas, or whatever surface you are using.

Great, now your grid perfectly matches the grid on your reference picture! Good job!
To make your drawing bigger, you will need to do some math too.

The proportions of the enlarged image must match the original proportions exactly. If you are not sure whether your math was correct, count the number of squares in every row and every column and check the following:
Does the number of rows and columns in my grid match the reference grid?
Are my squares perfect squares, like they are in the reference grid?
If you said yes both times, then your grid is correct!
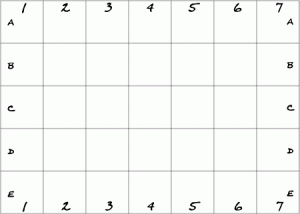
A good idea to keep yourself from getting lost in your work, especially if your canvas is big and there are many squares in your grid, is to mark your grid with letters and numbers, as if you were preparing a grid to play battleships. Keep the numbers and letters small and don’t apply too much pressure to make sure you can erase them later. This is what a numbered grid looks like:
And here is the same numbered grid applied to the reference picture.

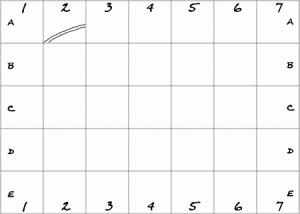
Now that you have your grid, you need to copy what you see in the reference picture, square after square. Personally, I prefer to start in the upper left corner when I use the grid method, working my way down and across. Now, since the A1 square of our reference picture is empty, let’s move on to A2 to copy its content exactly as you see it:
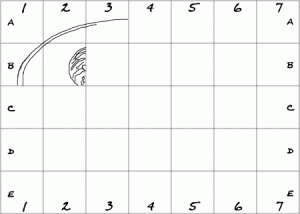
As you can see, the grid breaks the reference image down to smaller elements, making it easier to understand what goes where. Here you can see that on the reference picture, the left side of the small bowl goes right through the lower left corner of A2 square, so you draw a line from the corner to the middle of the lower end of the B1 square.
Well that was easy. Let’s keep moving on, shall we?

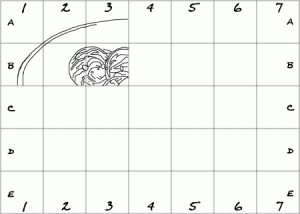
As you can see, you only need to pay attention to one square at a time, without worrying about the other squares – their time will come. Try copying the contents of each square as exactly as you can to the corresponding square on your canvas, paying attention to placing every line correctly, like this:
Continue working in the same way, moving on to other squares:
That’s it! Surely you must have a perfect understanding of the grid method now. Keep working each square one by one until you have completed all of them, thus copying the entire reference image to your canvas or paper. By focusing your attention on individual squares, you will only draw what you really see, not what you think you see or even what you think you should see. When you are done, you should have a rather exact copy of your reference image, ready for next steps that you have planned.
Gently erase the grid when you are done copying. Great job – you are ready to continue working on your art piece!
Want to practice with us? Simply sign up for one of our courses – we promise you will learn a lot and have fun, even as a complete beginner!