Draw a tulip in 8 simple steps
19. February 2022
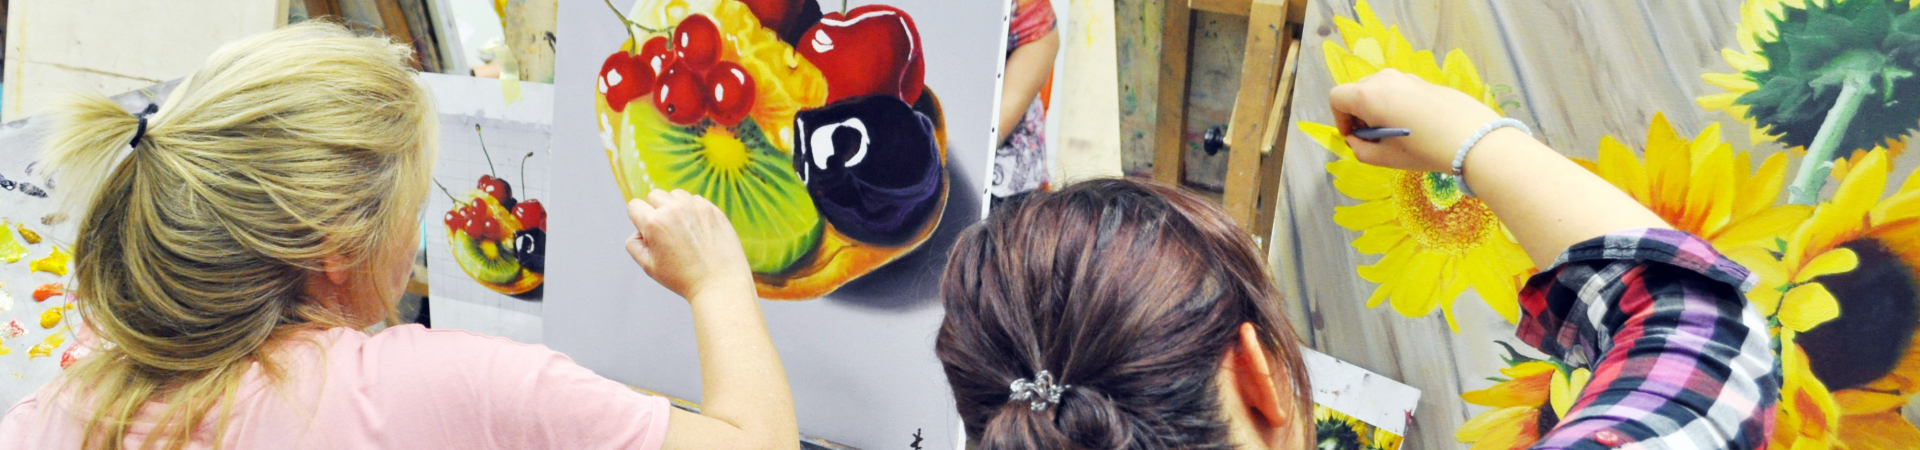
Do you like flowers? Would you like to enjoy them even in the seasons when finding real tulips isn’t exactly easy? Well, why don’t you go ahead and draw one instead? You can put it in a frame and enjoy its beauty until the real thing becomes available again! And if you’re intimidated, don’t fret – we’re here to help!
So, what are the basic principles of drawing flowers?


Drawing flowers might seem daunting – maybe you already tried and felt like something was missing from your artwork. If only you could pin-point what it was…See, details are very important when it comes to flowers. You won’t just get away with a stem and the flower – you need to focus on small details; the lack of them might be the cause of your previous attempts not turning out the way you expected. Beginner artists also tend to lack the patience and the experience – something you can gain only with regular drawing and painting practice.
Still, anyone can draw a tulip, even a child! Plus, it’s a great way to practice your patience. So, how does one draw a beautiful tulip? By following these eight steps!
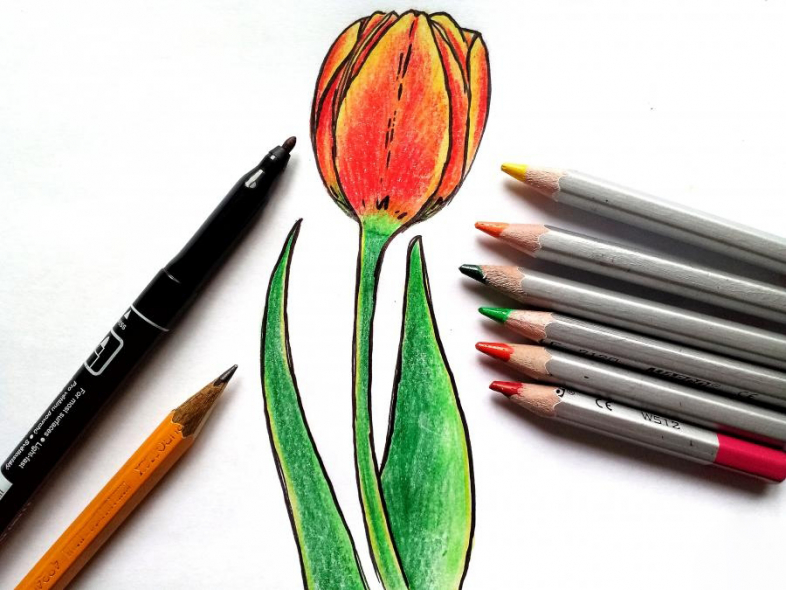
1. Draw an oval in the middle of your paper – this is a base of your tulip’s bud. Next, draw a line passing through the middle of the oval and going down, curving slightly to the left. This is your stem.
2. Draw petals inside the oval, with the largest petal taking up the foreground in the middle and the smaller petals around it. Give a slight curve to some of the smaller petals on the sides.


3. Draw a stem coming out of the bud’s bottom part, adding leaves around the stem. Make them long, wide at the bottom and narrowing toward the top. Don’t try to make them identical – they aren’t identical in reality either, so why should you?


4. Outline the flower with a black pen – this will allow you to hide the lines that are not meant to be seen but were necessary for the drawing’s construction.
5. Make the petal edges yellow, adding a bit of orange as well. Try to make smooth transitions, just like on a real flower, making your strokes go inward, from the flower’s edge to the centre.
6. Colour the centre of the petals in red, creating a smooth colour. Keep your strokes going from the outer edge toward the centre to create the right texture. Try using a wine-coloured pencil to add shadows to the petals to make them more realistic.


7. Now grab some greens for the stem and the leaves. Use light green on the leaves’ edges, moving towards darker shades of green as you get closer to the centre.
8. Final tip: use a black pencil to accentuate important outlines, perhaps even using a black marker on some of the petals.


Voila, you just drew a tulip! Isn’t it beautiful? Was this experience inspiring enough to make you want to learn more, perhaps how to draw other flowers, animals, portraits or still life pictures? Sign up for our coloured pencil drawing course for beginners and learn everything you need from the best! We promise you will have fun and create amazing artworks that will make you proud.