How to mix skin tones, part two
3. February 2022
Every skin tone contains three basic colours – blue, red, and yellow – in different ratios depending on how light or dark the skin is, whether it’s in the shadow or out in the light, and also depending on the body part. For instance, thin skin, like that on your temples, tends to carry cooler shades while the tip of the nose is usually darker. The first thing to keep in mind is that there is no magic recipe to create the perfect, universal skin tone – you will have to learn to mix your own skin tones, and that’s where the colour ratios come into play.
Now that we’ve established how different skin tones are, our next piece of advice is to avoid those paint tubes with “universal skin tone”. You could use them as a base for mixing the shades you really need for your portrait, but since these pre-mixed skin tones are just a basic mix of blue, yellow, and red, there is no reason why you can’t do that yourself.

A simple mixing method
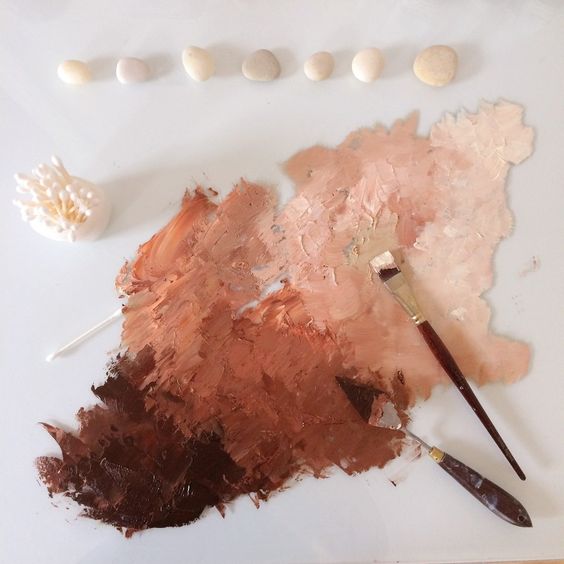
Start by mixing the same amount of each basic colour together – this will result in a brownish colour, a base that you will lighten and darken, make it warmer or cooler.
Note: if you get more of a greenish colour, simply add more red to balance it out since some paints and colours can be more dominant than others.

In portrait painting, just like in landscapes, your best bet is to try to capture the colour you see as closely as possible. Take a good look at the colour on your model picture or your live model’s body and try to create the same shade on your palette, comparing it to your model as you go to fine-tune and perfect it. Think of these questions as you work towards that perfect shade.
- Do I need a lighter or a darker shade? If the answer is lighter, add yellow or white. The white will also make the shade cooler and more coating, while the yellow will add warm undertones. Use dark ochres, rusty shades (like burnt umber) or chromatic blacks (like burnt sienna combined with ultramarine blue) to make your mix darker.
- Do I need a cooler or a warmer shade? Add blue (or white to simultaneously lighten the mix) to make your shade cooler. Use yellow or warm red to add warmth to your skin tone mix.
- Do I need to make my skin tone more or less saturated? Use the opposite colour to balance things out.
You can also use earthy colours like ochre, rust, or black shades, but keep in mind that even these can be created by mixing the three basic colours together. In the end, it’s up to you to decide what mix works best for you.

An example palette
Let’s take a look at some colours that you can start with and then add, remove, or change colours on your palette to your liking.
- Titanium White
- Cadmium Red Light
- Cadmium Yellow Medium
- Ochre
- Burnt Sienna
- Burnt Umber
- Ultramarine Blue
For light skin tones, use a mix of 1, 2, 3, and 5.
For medium tones, use 2, 3, 4, and 5.
For dark skin tones, use 2, 5, 6, and 7.
Create a series of different shades for different colours that you use – for instance, keep adding more and more white to Cadmium Red, creating a variety of shades available to you. Do the same for your skin tone mixes to create a perfect dark-to-light palette to use for adding shadows and highlights to your portrait without having to mix a new shade from scratch every time.

A tip to get you started in skin tone mixology
Start by looking at your own skin and try to mix shades that match your hands. Take note of how different colours and shades look depending on different lighting and light sources. Next, try to mix a shade that matches your face, examining the colours and different shades you see in the mirror. Then, try to mix them from memory. Printing out pictures of people and trying to mix a shade to match their skin is also a great way to practice. Also, did you notice that not once did we use orange or pink like we used to do as kids? 😊
Want to learn more and become a real pro? Join us at our portrait drawing and painting course. We look forward to meeting you!