How to get rid of your fear and finally start your artistic journey
16. February 2022

How to get rid of your fear and finally start your artistic journey
You get inspired, you want to grab a brush or a pencil and get creative, but then anxiety and fear of failure take over. Sounds familiar? You are not alone! Many people are afraid to start and if you are one of them, we hope this article helps you break down the barriers that are holding you back and inspires you to finally take the first step – maybe after you’re finished reading? 😊
The good news is, art is like any other trade, and trades can be learnt! Now, every trade comes with its own set of rules and principles and drawing or painting are no different! Think of the process of learning to play an instrument – someone has to explain it first before you can start practising, and it’s just like that with art.
You can start at any age. It doesn’t matter if you dive in as a child, a teenager, or at 70 years of age. You’ll do great as long as you keep your enthusiasm! Creative activities are also proven to slow down the ageing process, which is why all artists, new and old, always remain young at heart 😊
Creativity is a skill like any other, which means you can practice and get better at it! Grabbing a pen and making a few doodles is enough to give your brain a chance to work differently than it usually does, thus practising your creativity. Pretty cool, right?
It takes time and practice to become good at drawing and believe us when we say that every great artist used to be a “rookie” at some point – we all have to start somewhere! You just need to keep at it, working your way toward improvement. And that means making mistakes and trying again… and again. Your last mistake is your best teacher, and that saying is especially true in art.
And finally, creative activities are good for you! They help us relax and release our emotions, so by discovering your inner artist, you are actually doing something positive for your mental health, improving your empathy and awareness! And what better way to discover that hidden inner artist than by simply drawing, painting, and making art?
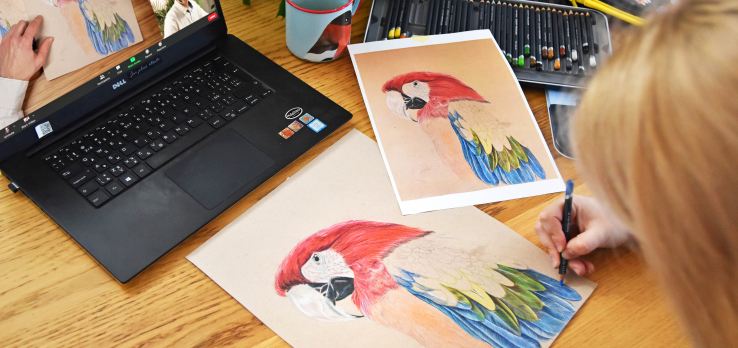
Believe in yourself and your talent will surface, trust us! All you need is some practice and a good teacher – and pssst, we don’t want to brag, but ours are really nice, friendly, and amazing! Have no fear and come join us at one of our courses; we have plenty of options for complete beginners! Choose what you like at — and become a confident artist!


