Drawing a cat with a pencil – a step by step tutorial
8. February 2022
Back to blog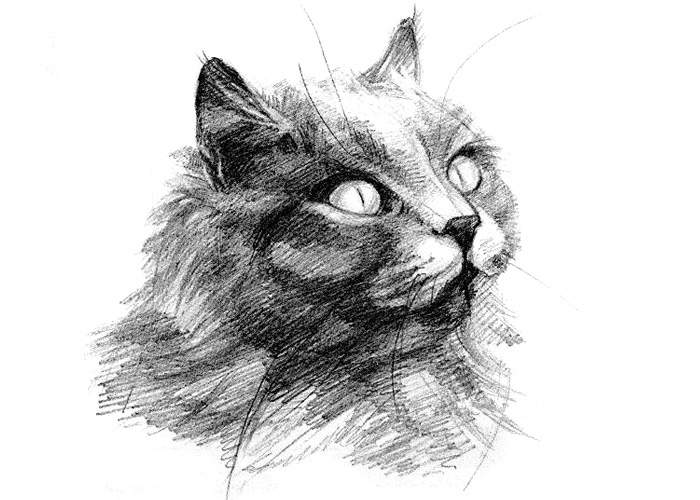
Did you know you can draw a cat in five steps? Follow us and see for yourself! First, you need to determine where the cat’s head is going to be on your paper. Then, draw a big oval with a smaller oval inside and two lines for the cat’s neck. Next, add two parallel lines right above the smaller oval – the cat’s eyes will go between them.

Step two – draw two more ovals for the cat’s eyes, add the ears and try to shape the face to be more catlike. You can see a cat’s face coming together already in the picture below.

Step three – the nose. At this stage, it can be a simple triangle. Our main goal right now is to make sure everything looks even and level, with no elements being askew or looking “weird”.

Step four – adding more details and definition to the cat’s eyes, ears, nose, and mouth. Don’t rush and take it one thing at a time – work on the ears first, then move on to the eyes and finally, to the nose. Use the picture below as a reference and try to mimic what you see.

Finally, in comes hatching and shading! Make sure you have pencils ranging from 2B to 6B at the ready, look at the reference picture below and try to copy the light and dark areas. Look closely and pay attention. Use the 6B pencil for the darkest areas and the 2B pencil for the lightest. That means you will use the 6B around the eyes, mouth, and ears, and the 2B for the eyes themselves. Don’t be nervous about making a mistake – you can always fix it with your eraser.

That’s it, you just drew a cat! Want to learn more? Then our drawing course is just the thing for you! https://www.drawplanet.cz/kurz/kurz-kresby/ Join us at Draw Planet to learn to draw things, animals, people, and much more step by step. Simply click the link, register, and start learning! 😊