Drawing an eye with a pencil, step by step
18. February 2022
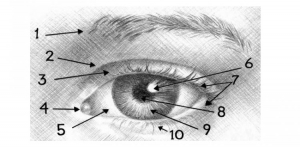
Before we begin, let’s get some anatomical terms sorted out to make sure the instructions are not confusing.
1 – Eyebrows, 2 – eyelid crease, 3 – upper eyelid, 4 – lacrimal caruncle, 5 – sclera, 6 – reflection, 7 – eyelashes, 8 – pupil, 9 – iris, 10 – lower eyelid.
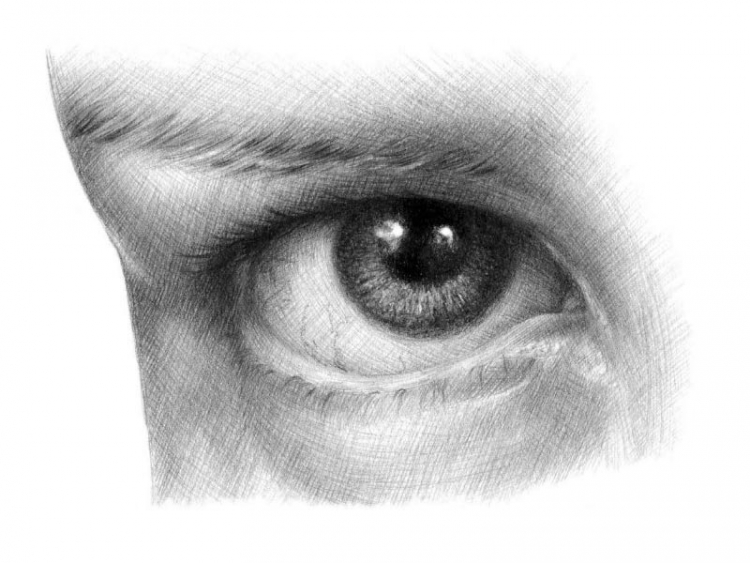
Now look at the eye drawings below, paying attention to different viewing angles. Notice how different people have very different eye shapes, eyelid sizes, and eyelashes.

Now, let’s get started! Draw two circles, one inside the other – the eyeball and the iris.

Next, add lines representing the edges of the upper and lower eyelid, then continue by adding a pupil and the edge of the face.

Use an eraser to remove the lines above and below the eye, then create the basic eyebrow shape using a few short strokes.

Next, add another line close to the upper edge of the lower eyelid – this will be the lower edge of the lower eyelid. Add an elongated drop shape below the eye, to the right, then place an oval above the eye, still to the right, and finally, add the lacrimal caruncle. Add a light reflection into the pupil as well.

Now move on to hatching. In our model picture, the hatching shows where the darkest areas are. Pay attention to the direction of the hatching lines – they must follow the facial shapes! Use HB and 2B pencils to hatch the darkest spots, paying attention to areas with no hatching at all – these are the lightest spots in the drawing. Let’s say we’re drawing brown eyes – that means that the iris will be dark too. Use a midtone for light brown, blue, or green eyes and make sure to keep the iris very light and contrasting for light blue, light green, or grey eyes.

Now use 2H and HB pencils for cross hatching, adding volume by creating a wide range of tones, from very light to very dark, almost black. Darken the iris.
Use HB and 2B pencils to add midtones, taking time to carefully study all shadows and half-shadows. Pay extra attention to areas that have to remain light. Contrast between light and dark tones is important in drawing, adding realism and volume to your work.

Use a 2B pencil to add a shadow to the inner and outer eye corner, then use sharp 2B and HB pencils to draw an eyebrow. Next, grab a 4B and 6B pencil to shade the iris, making sure to keep some light reflections in the eye.

If you wish, darken the areas above the eye by adding more lines to the existing hatching. Darken the eye corner and continue to work on the shading. Use an HB pencil to draw eyelashes and keep in mind that they grow from the outer edges of the eyelids. Finally, add some thin, crooked lines to represent the veins.

Wow, this was quite a detailed tutorial, don’t you think? Still, the best way to master drawing skills is by learning from an expert 😊 Come join us at Draw Planet and sign up for our drawing course for beginners! Or perhaps we’ll see you at our portrait drawing course? Choose the one that calls to you and come learn with us!





 1. Pick a nice landscape for your painting


