Nose drawing explained
14. February 2022
Back to blog
Have you ever tried sketching human faces? Did you find it difficult? Rightly so – when you attempt to sketch a face, you must put all the features together correctly, follow the anatomy, and, most importantly – you have to draw a good nose. But how on earth do you do that? Well, grab your sketchbook and let’s give it a shot together!
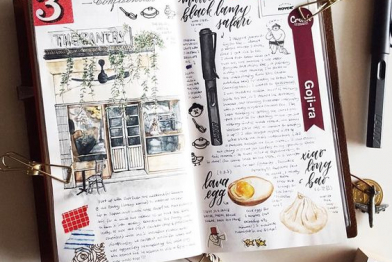
The key element of sketching is the speed that you work with, allowing the artist to quickly capture items or ideas on paper. By mastering sketching, you can quickly lay your thoughts, emotions, and memories on paper, saving them for later work.
The key element of sketching is the speed that you work with, allowing the artist to quickly capture items or ideas on paper. By mastering sketching, you can quickly lay your thoughts, emotions, and memories on paper, saving them for later work.

But let’s get back to sketching faces and noses. We’ve put some tips and tricks together to help beginners get comfortable drawing noses with nothing but a simple pencil. The key is sticking to the proportions and paying attention to detail. Let’s get started!
Step 1: The very basic placement
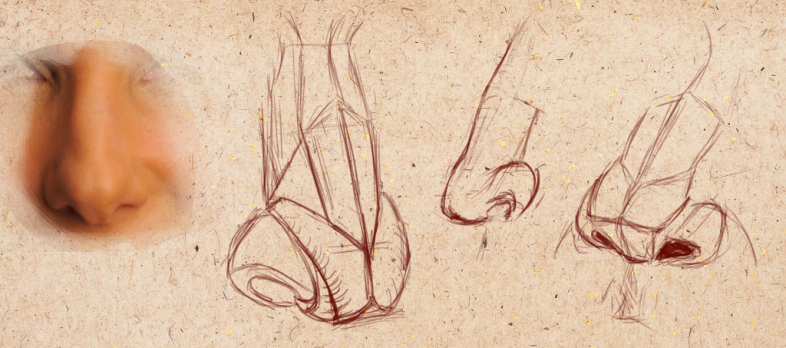
Draw two perpendicular, intersecting lines to mark the nose placement, keeping in mind that no two people have the exact same nose – there is always some difference.
Step 2: Draw nose contours and nose wings
Nose wings and the nasal bridge are key elements of any nose, so you should start with them. Here’s one thing to keep in mind: the distance between the nose wings is about half the length of the vertical line from step one. Don’t forget about that to make sure your proportions aren’t off.

Step 3: Draw the nose shape
Now it’s time to move to the nose shape. This should be easy if you did the first step correctly. Go ahead and draw the nose’s rounded shapes and the tip.
Now it’s time to move to the nose shape. This should be easy if you did the first step correctly. Go ahead and draw the nose’s rounded shapes and the tip.

Step 4: Details
Use an eraser to remove any extra lines to keep the drawing nice and clean and shift your attention to small details. Is the width of the nose a bit off? Fix it to your liking. Continue by adding nostrils and perfecting your picture until you are happy with the shape and what you see, keeping in mind that even the smallest imperfection can ruin the entire picture.
Step 5: Volume
Volume is necessary to make the nose look realistic, so in comes the shading! Use your pencil to add shadows to create a nice, three-dimensional nose drawing like a real pro. Always keep proportions and anatomy in mind and pay attention to every line and every shade, using a soft pencil.


Final tip: Professionals sketchers suggest laying down facial features like eyes, nose, and mouth first when you decide to sketch faces because these are the elements that need the most attention. Everything else can be fixed easily, but if you fail at capturing the nose or the eyes correctly, your entire drawing will look different, with the resulting portrait not really matching your model.
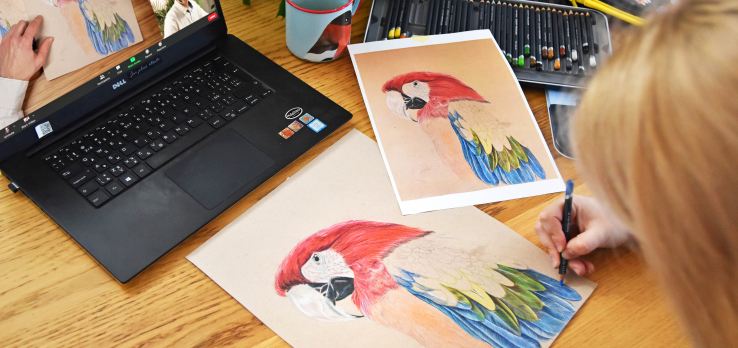
So, how did it go? These steps should help you draw different noses with ease, even if you are a complete beginner. And for those who feel motivated to move forward, polish their skill, and get more experience sketching faces, we invite you to join our figure drawing course – check it out here: and come learn with us!
So, how did it go? These steps should help you draw different noses with ease, even if you are a complete beginner. And for those who feel motivated to move forward, polish their skill, and get more experience sketching faces, we invite you to join our figure drawing course – check it out here: and come learn with us!


